|
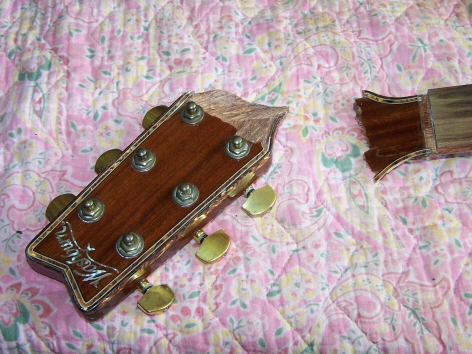
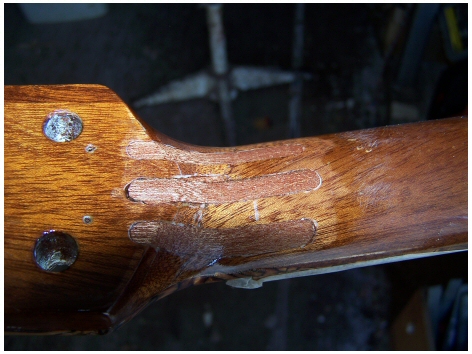
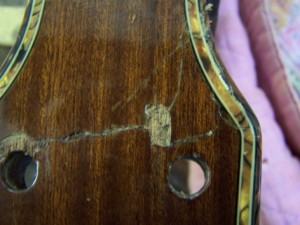
This as a fairly typical headstock break, however the job was made much harder because the owner had attempted a DIY repair with PVA glue, which (unsurprisingly) had failed. So the first three hours were spent removing every trace of glue, then working under a magnifier using the tip of a no.11 scalpel to carefully straighten or remove any bent or displaced wood fibres, until the pieces fitted back together perfectly. |
 |
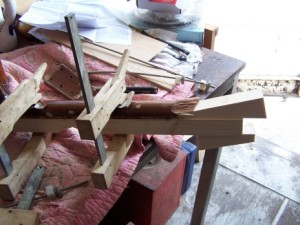 |
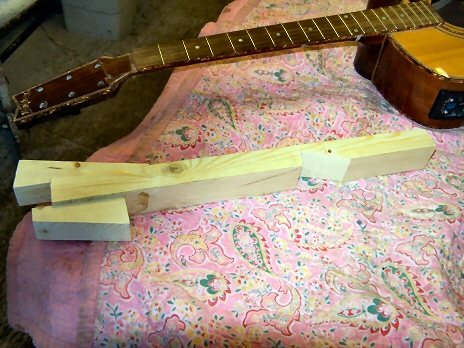
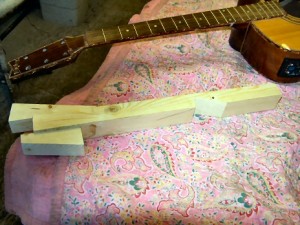
| The next stage is to make up a clamping bed that will hold the head in alignment and provide purchase points for the clamps so that they apply pressure in the right directions. |
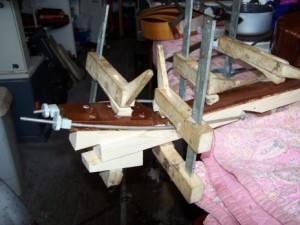 |
The joint is then glued and clamped up. I’m using a fresh mix of hot hide glue. Hide glue is really the only sensible option for this sort of job where gluing has to be done in several stages, because any excess glue can be re-melted with a little hot water so it doesn’t interfere with the fit of the next stage. Cam clamps hold the neck and head in alignment on the bed, and two cello crack clamps pull the joint together tight. |
 |
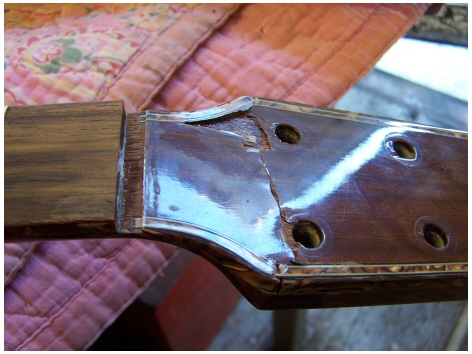
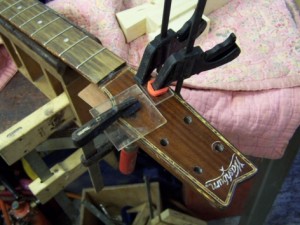
The main joint has gone together well, but the head veneer still needs more work.Thankfully the owner saved most of the missing veneer, so it is glued back and the loose fibres around the break are glued down using perspex cauls. The remaining small patch of missing veneer will need to be made up by drop-filling with cyano. |
 |
 |
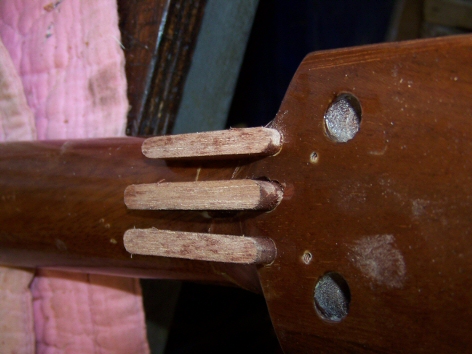
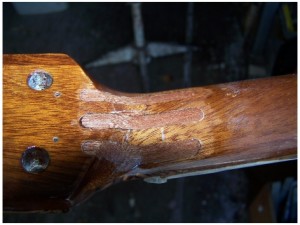
| At this stage the break is basically repaired. But a glued joint is never as strong as solid wood (regardless of what the glue salesmen might tell you!) and left like that it would almost certainly break again fairly quickly So the next stage is to splint the break. Normally I would use two splints, one each side of the truss rod. But in this case, because the wood is very short grained and there is almost certainly some PVA glue left in the pores of the wood which will significantly weaken the bond, I am using three. |
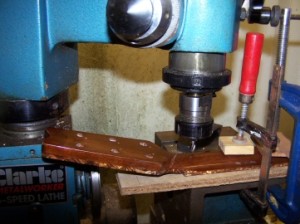 |
The milling machine is used to cut slots for the splints, which are then glued in and carved to match the neck profile. |
 |
 |
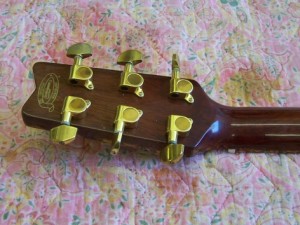
| All that now remains is to lacquer the repair. I use thin cyano to drop-fill any small chips in the original lacquer, then build up the finish with very thin coats from an air-brush. I usually add a slight colour tint to the first few coats – although it darkens the area slightly it helps to blend in the repair. Job done! |
 |
 |